Arch Linux Awesomewm Install Guide
This guide is for installing arch linux (UEFI) with xorg, Awesomewm, SDDM, Paru, BTRFS, Snapshots, Qemu, KVM, and Gaming.
Install ISO to USB:
After downloading the latest Arch ISO you will need to install it to a usb using a program like Balena Etcher. Plug the usb into the machine you want to install arch to and boot into the usb.
Base Install
Set Pacman Confs
Use nano or vim to edit the /etc/pacman.conf file:
Color # Uncomment this line
ParallelDownloads = 5 # Uncomment this line
Then update pacman:
pacman -Sy
Update Keyring and Archinstall
Once booted into the arch live ISO you need to update the keyring and archinstall packages:
pacman -S archlinux-keyring archinstall
Run Archinstall Script
Run the built in archinstall script:
archinstall
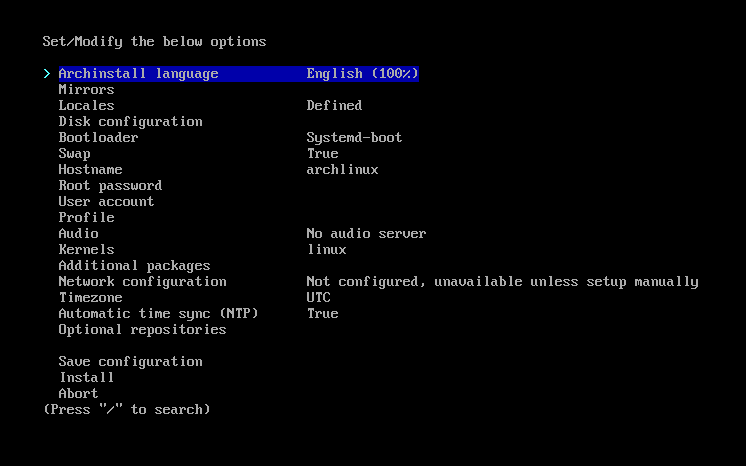
The Basics

Archinstall base
In the installer setup the base system:
- Pick your local mirror
- Setup your locale
- Set the disk configuration, use best effort default with btrfs and subvolumes
- Choose the bootloader
- Setup swap
- Set the host name
- Set the root password
- Create a user account
- Select the pipewire audio
May have an issue due to a bug in older install scripts - Select the kernel
- Set the network config
- Set the time zone
- Set the time sync
- Enable the multilib repository in optional repositories
Profile
Select the awesomewm profile and take note of the installed packages:

Archinstall Awesomewm profile
Additional Packages
Add the following packages to the base install (This setup is based on an AMD CPU with Nvidia GPU and Linux Zen):
dunstis the notification package.polkitis the polkit package.fishis a shell.python-pywalis the colour scheme package.rustupis the rust updater package.iwdis the wireless networking package.gnome-keyringis needed for nextcloud-client.libsecretis needed for nextcloud-client.network-manager-appletis the taskbar display forNetworkManagerutil-linuxcontains the tool for disk partitioning
intel-ucode amd-ucode polkit git fish base-devel python-pywal rustup networkmanager network-manager-applet iwd dhcpcd gnome-keyring libsecret linux-zen-headers wget util-linux openssh pacman-contrib cpupower acpi wireless_tools xdg-utils numlockx fd dosfstools
Finish Installer
Once everything is setup to your needs select the install option.
Post Install
After the installer finishes choose the option to chroot into the new system before restarting to finish up the install:
Archinstall completed
Make sure to switch to user level:
su [username]
SSH Agent
Change default shell to fish:
systemctl --user enable ssh-agent.service
Fish
Change default shell to fish:
chsh -s /bin/fish
Config System With Dotfiles:
This will link the config files over then install all the remaining packages:
git clone https://github.com/rassweiler/dotfiles.git
cd dotfiles
git checkout arch-awesome
./install
./init.sh
Setup LightDM:
sudo nvim /etc/lightdm/lightdm.conf
Change the theme value:
[Seat:*]
greeter-session=lightdm-slick-greeter
Setup Git:
git config --global user.name "Your Name"
git config --global user.email "youremail@yourdomain.com"
Mkinitcpio Setup:
- Update mkinit by adding
nvidia nvidia_modeset nvidia_uvm nvidia_drmto the MODULES section of/etc/mkinitcpio.conf:
sudo nvim /etc/mkinitcpio.conf
MODULES=(btrfs nvidia nvidia_modeset nvidia_uvm nvidia_drm)
then running the generator:
mkinitcpio -p linux-zen
Remote Desktop Server Setup:
This will allow RDP connections:
paru -S xrdp
sudo systemctl enable xrdp.service
Complete and Exit
exit
exit
reboot
First Boot
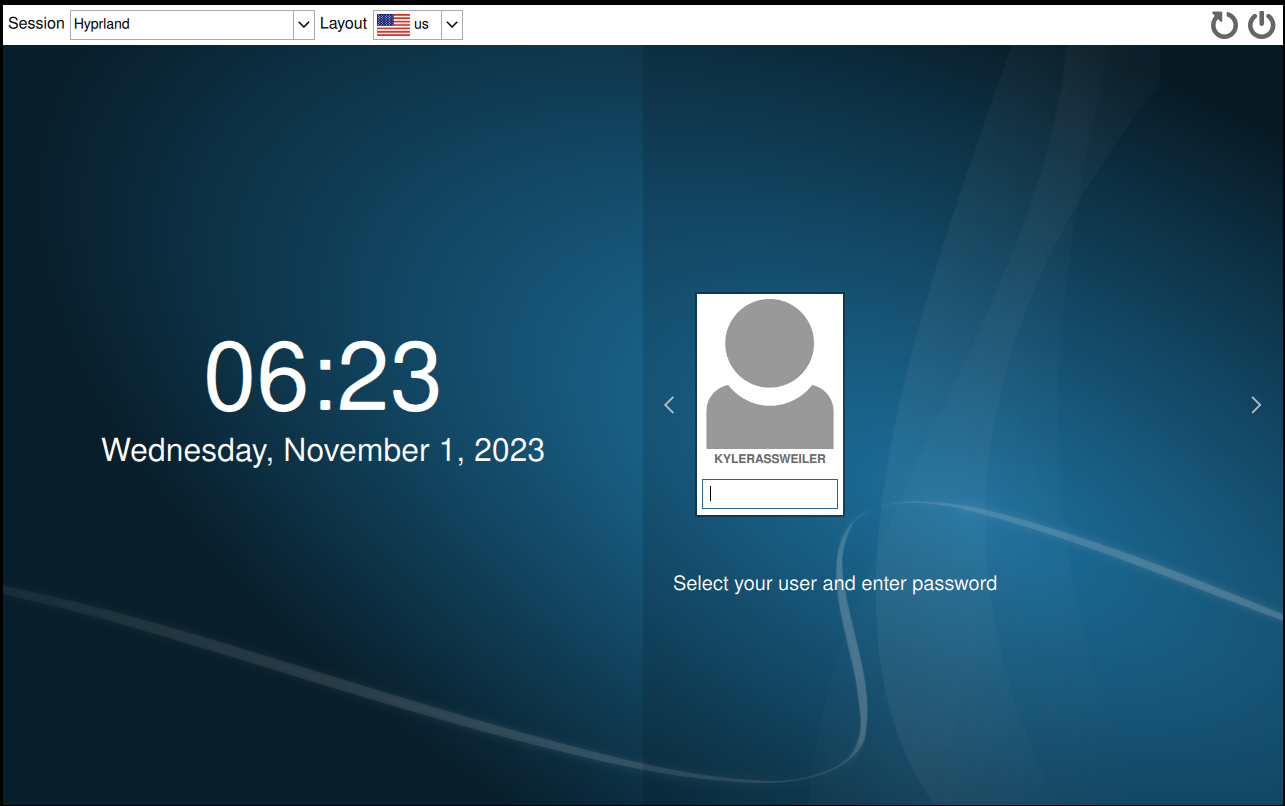
Log into the machine and open the terminal

Login Screen
Finish Setup
VM Auto Start:
sudovirsh net-autostart default
